WHMAUTIC Module Configuration
Settings
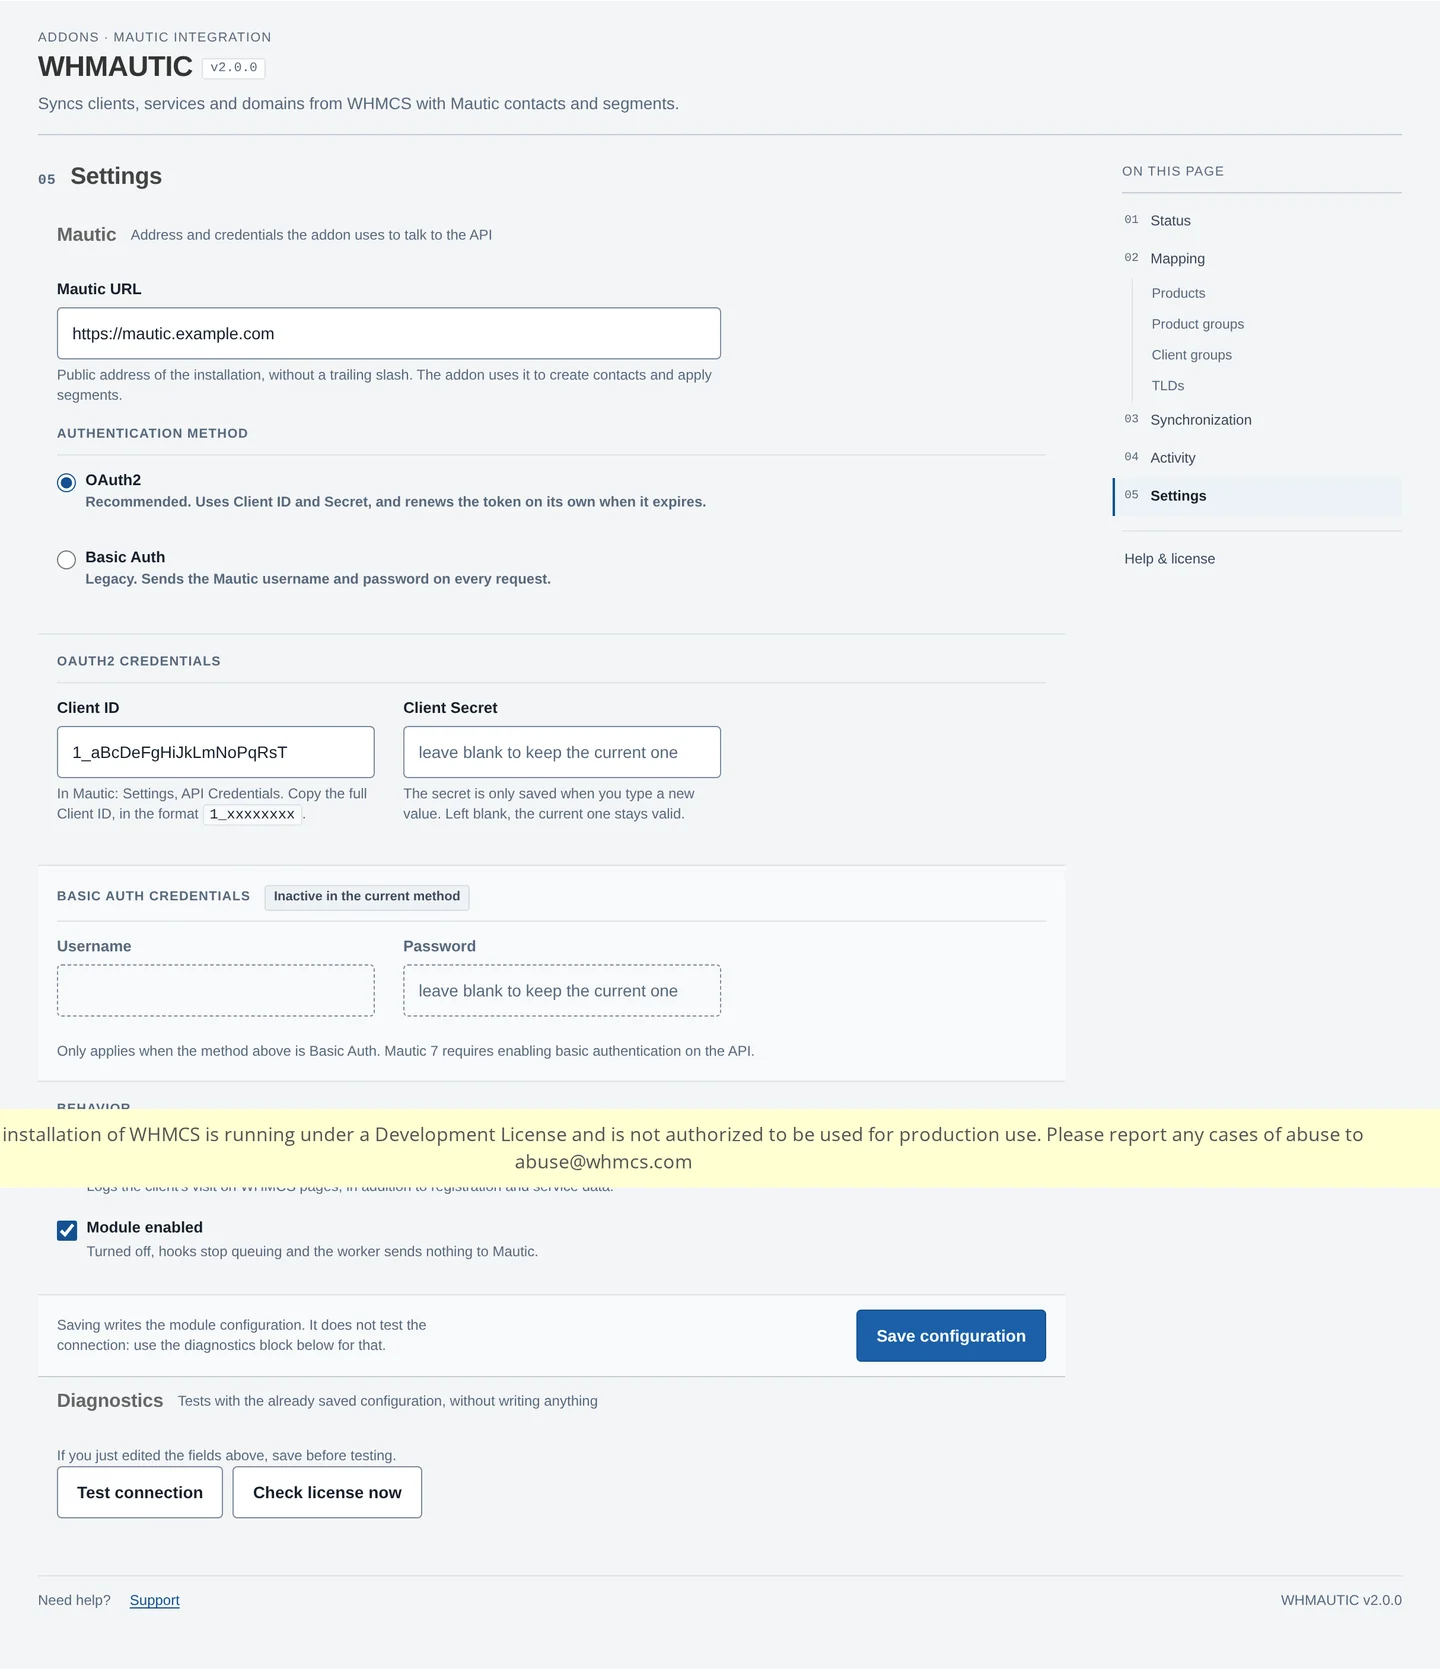
Open the WHMAUTIC addon and go to Settings. Enter the Mautic URL, choose an authentication method and fill in the matching credentials:
- OAuth2: Client ID and Client Secret. See Mautic Configuration for how to create them.
- Basic Auth: Mautic username and password.
Saving the configuration does not test the connection. Use the Diagnostics block on the same screen to check the saved configuration against Mautic, and to check the license, without writing anything.
Module behavior
Two switches in Settings decide what the module does at runtime:
- Module enabled: when off, hooks stop enqueuing and the worker sends nothing to Mautic. Use it to pause the integration without uninstalling the module.
- Track pages in the client area: when on, every client area page loads the Mautic tracking script (
mtc.js) and sends a page view carrying the logged-in client email, first name and last name, so visits show up in the Mautic contact timeline. When off, or when the license is not active, WHMAUTIC injects nothing in the client area.
Status
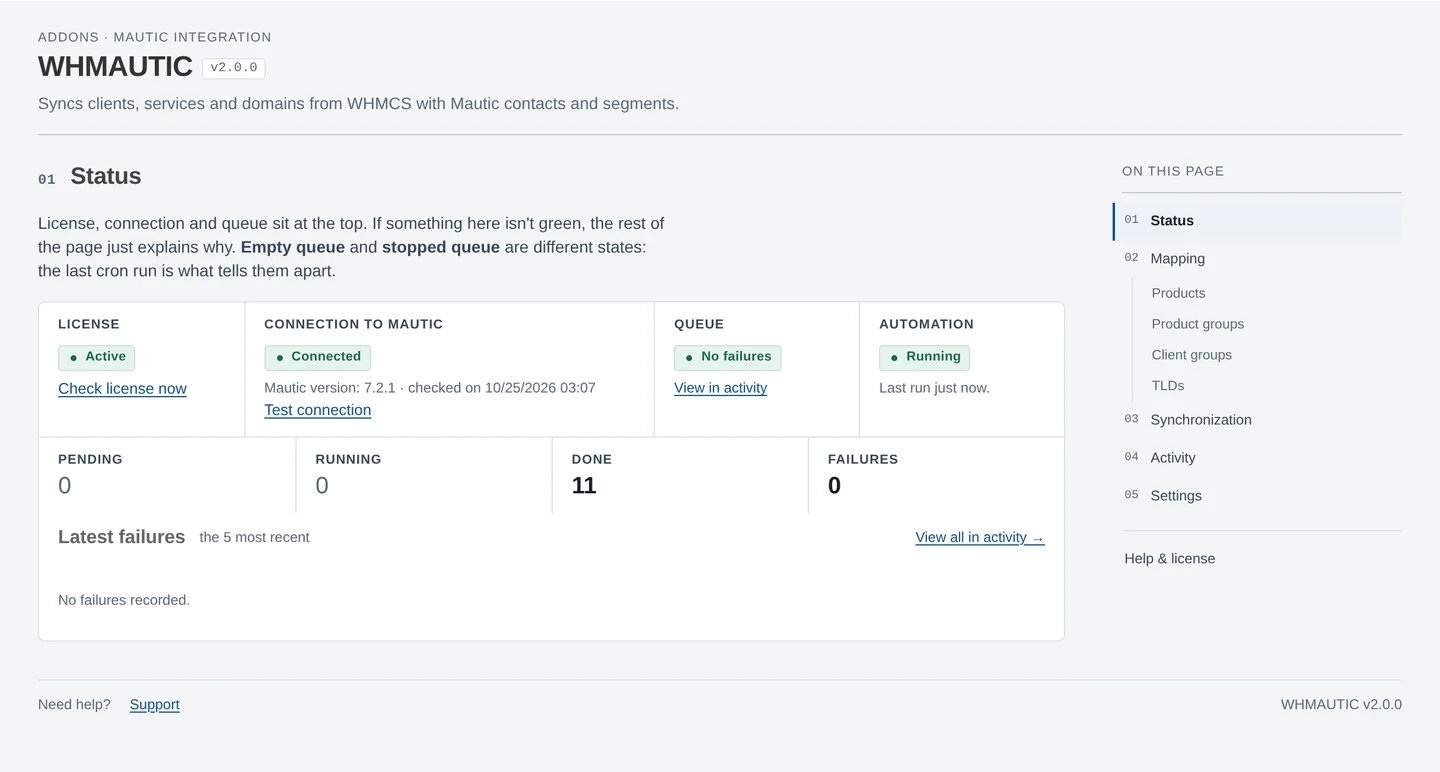
The status screen reports the connection state (connected, connected with issues, connection failed, or not verified), the Mautic version detected, any missing or non-writable fields, and the time of the last check. It also shows the license status, its expiration date, a button to check it immediately, and the state of the synchronization queue.
Segment mapping
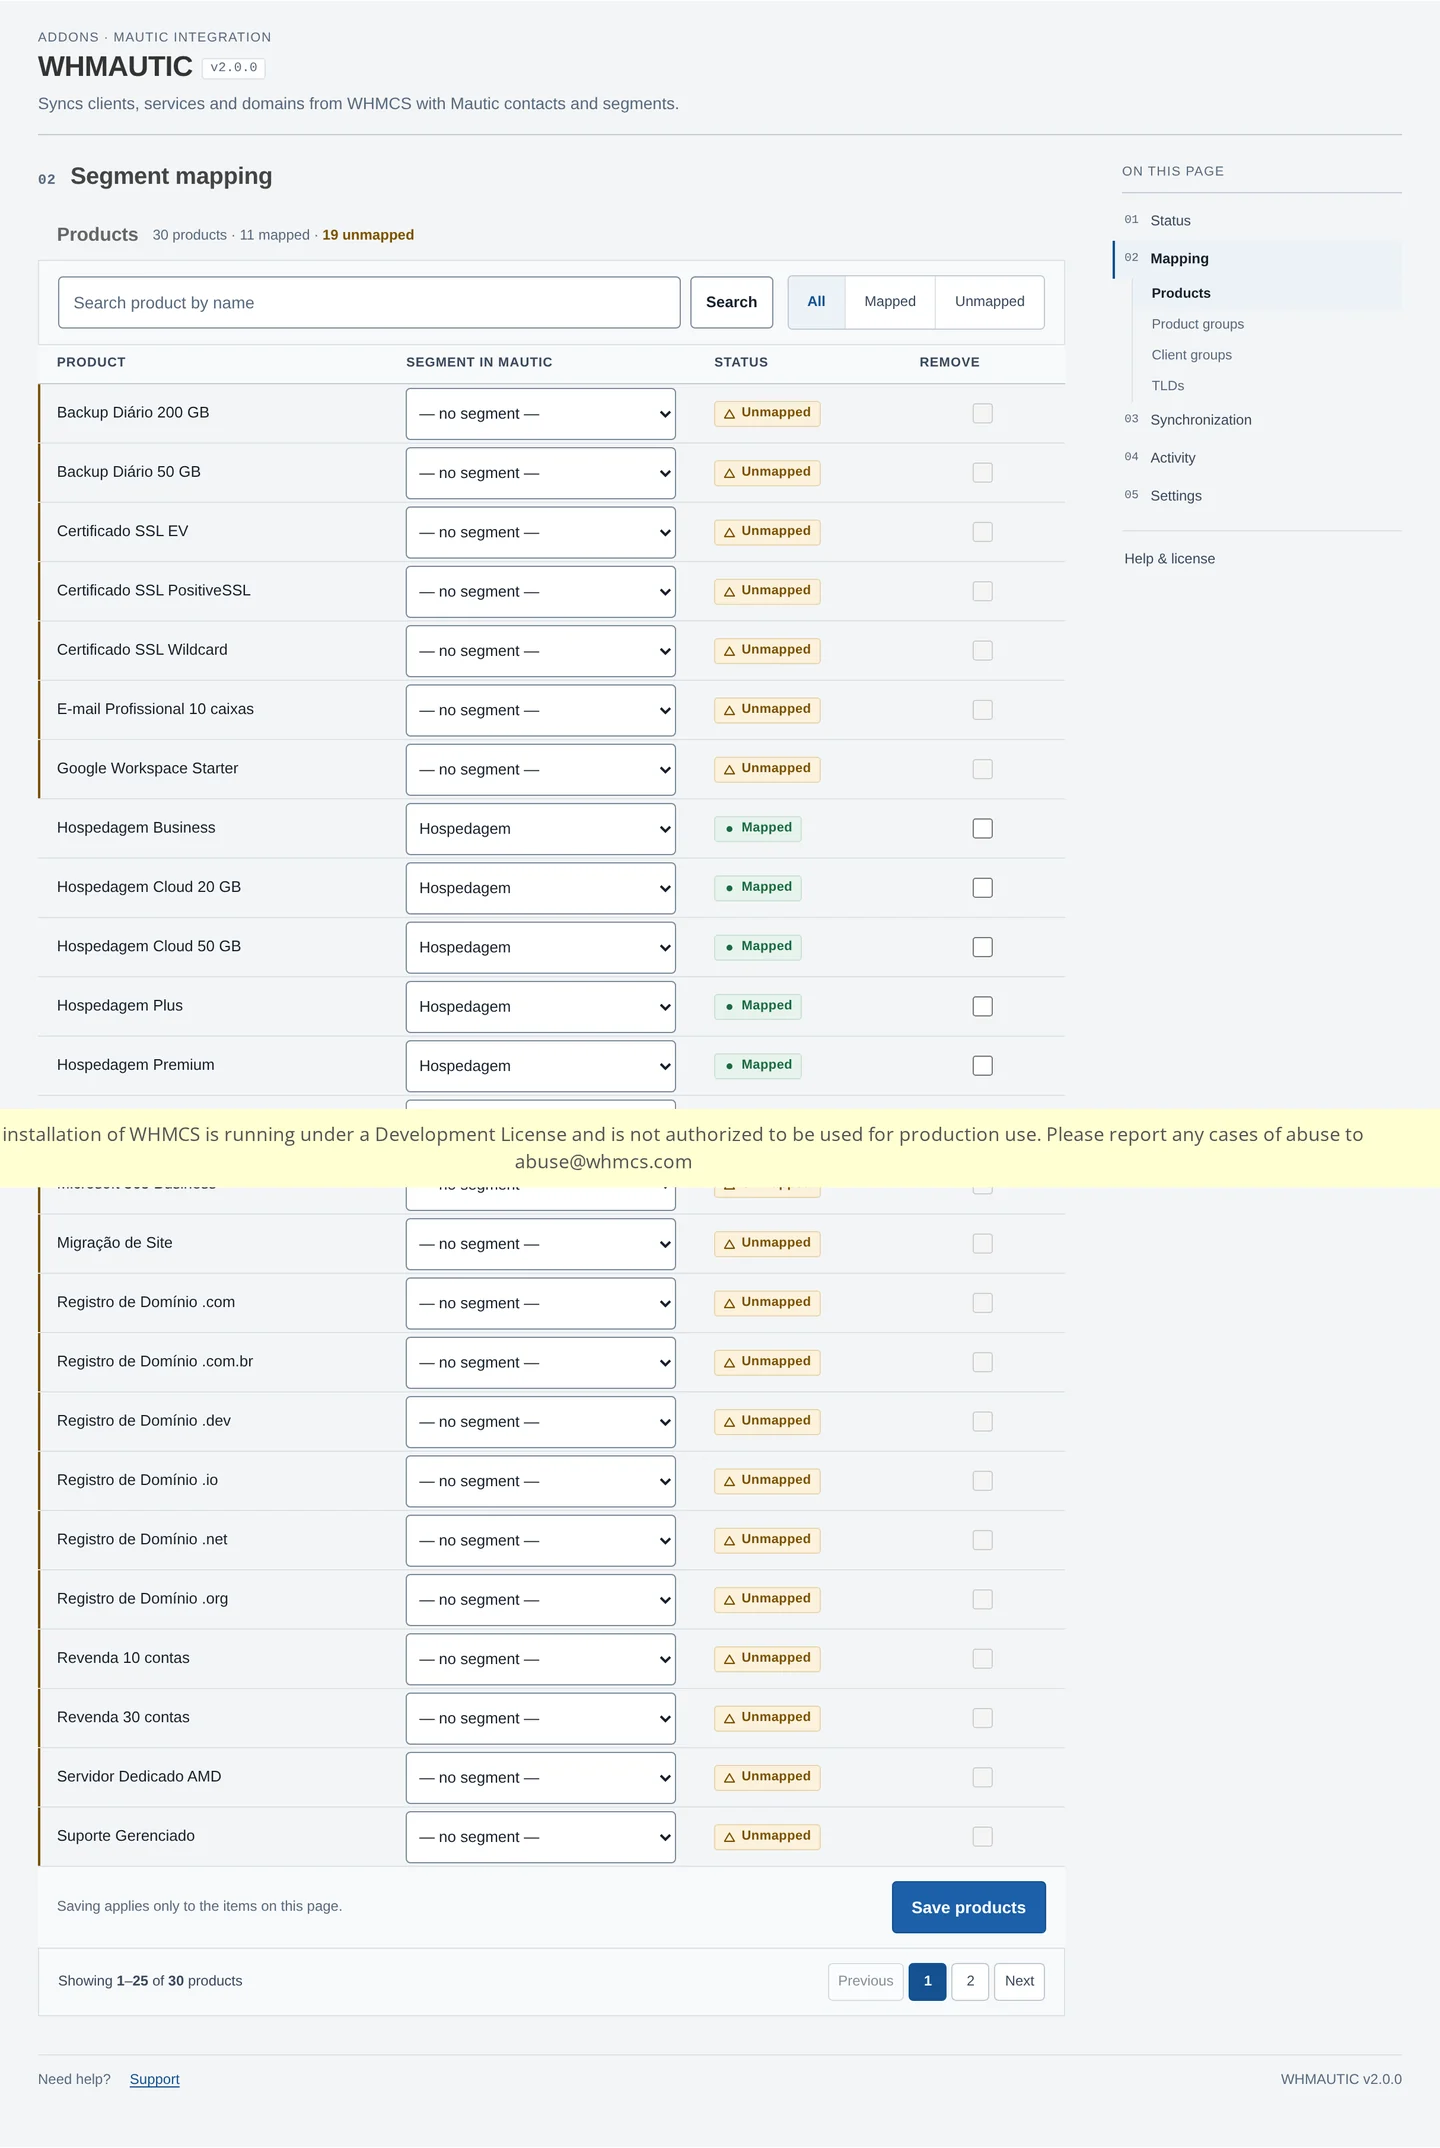
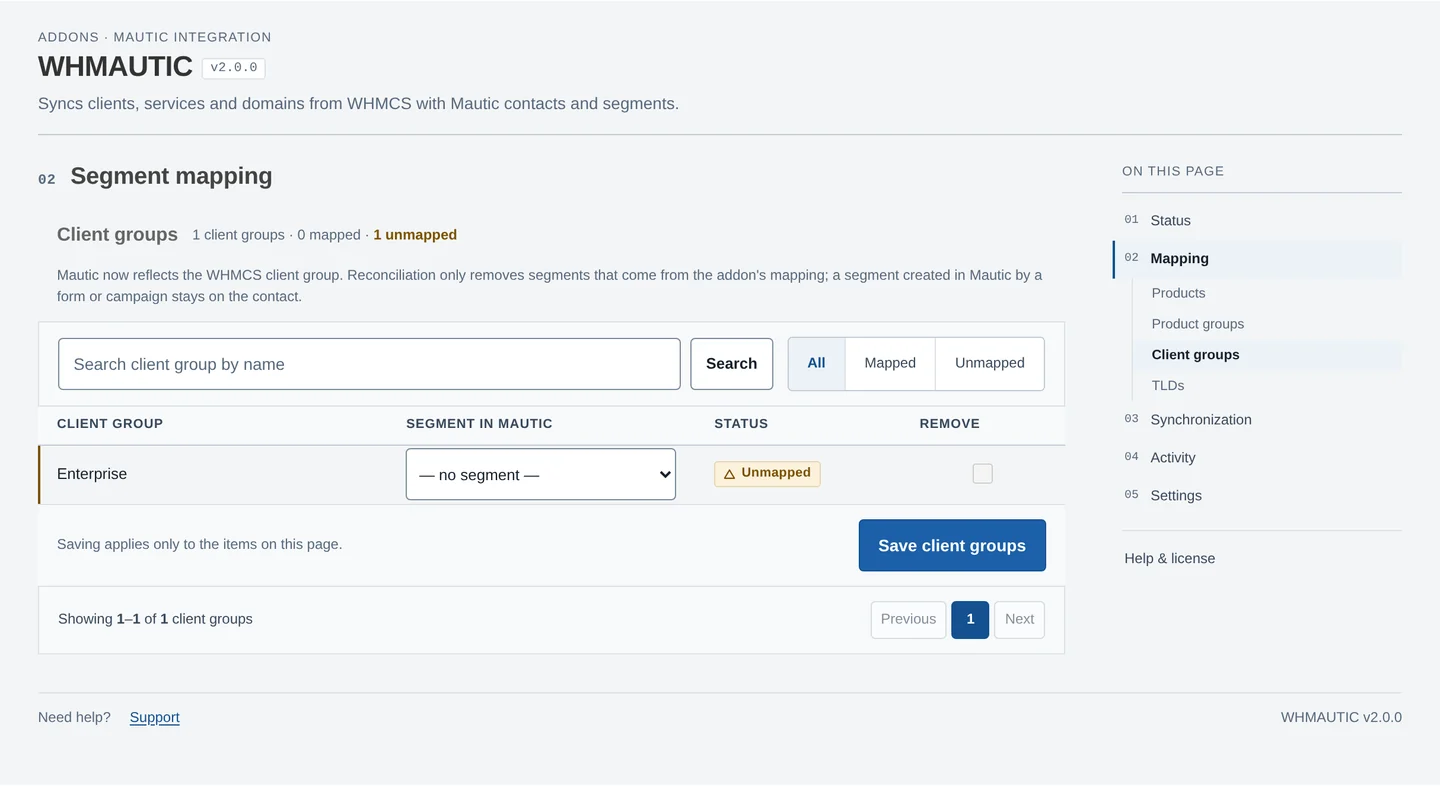
Products, product groups, domain TLDs and WHMCS client groups each have their own mapping screen, with search, filters and pagination. See Segment Mapping for how the four axes work together and how reconciliation decides what to add or remove.
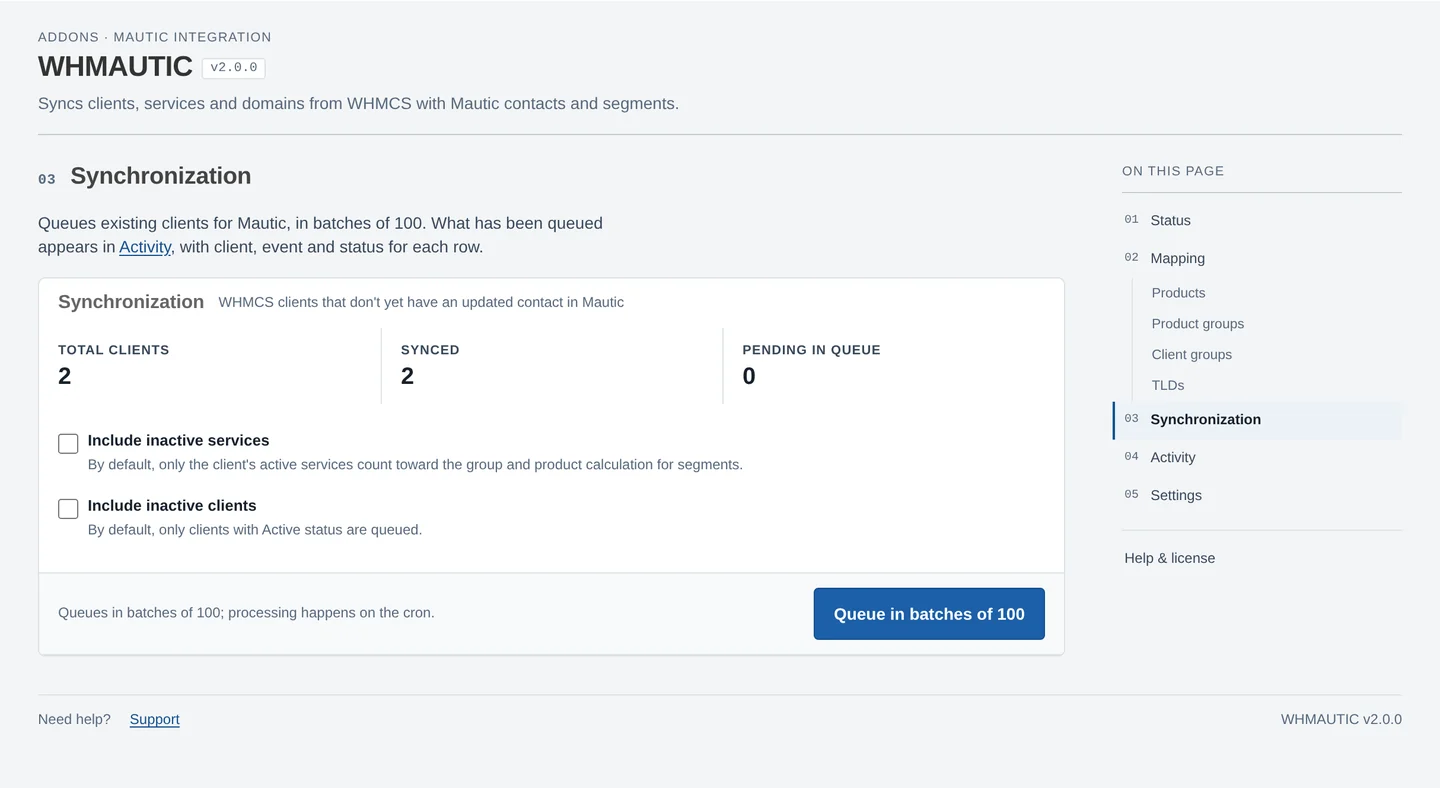
Synchronize existing clients
Queue clients already present in your WHMCS installation for synchronization. See Synchronization for the queue, batching and retry behavior.