Installation
1. Download the package
Download the WHMAUTIC package that matches your WHMCS major version from manage.mimirtech.co: whmautic-<version>-whmcs8.zip for WHMCS 8.13, or whmautic-<version>-whmcs9.zip for WHMCS 9.0/9.1.
2. Upload the module files
Extract the package and upload the contents of modules/addons/whmautic to the same path in your WHMCS installation.
If a previous version is installed, delete the existing modules/addons/whmautic directory before uploading. Uploading over it leaves files from the old version behind.
3. Activate the addon
In the WHMCS admin area, open Apps & Integrations (the same page older versions call Addon Modules), find WHMAUTIC and click Activate.
If you are activating over an existing WHMAUTIC 1.5.x installation, activation migrates your data automatically, including the legacy authorization column. The EunaRede Core module is no longer required: WHMAUTIC 2.0 handles its own licensing, and a 1.5.x installation does not need EunaRede Core anymore.
4. Enter the license key
WHMAUTIC licensing runs through the WHMCS Software Licensing Addon, inside the module itself.
On Apps & Integrations, open the WHMAUTIC row menu and choose Configure. Paste the license key issued for this installation and save. The status screen of the module shows the license state, the expiration date, and a button to check it again.
5. Configure the connection to Mautic
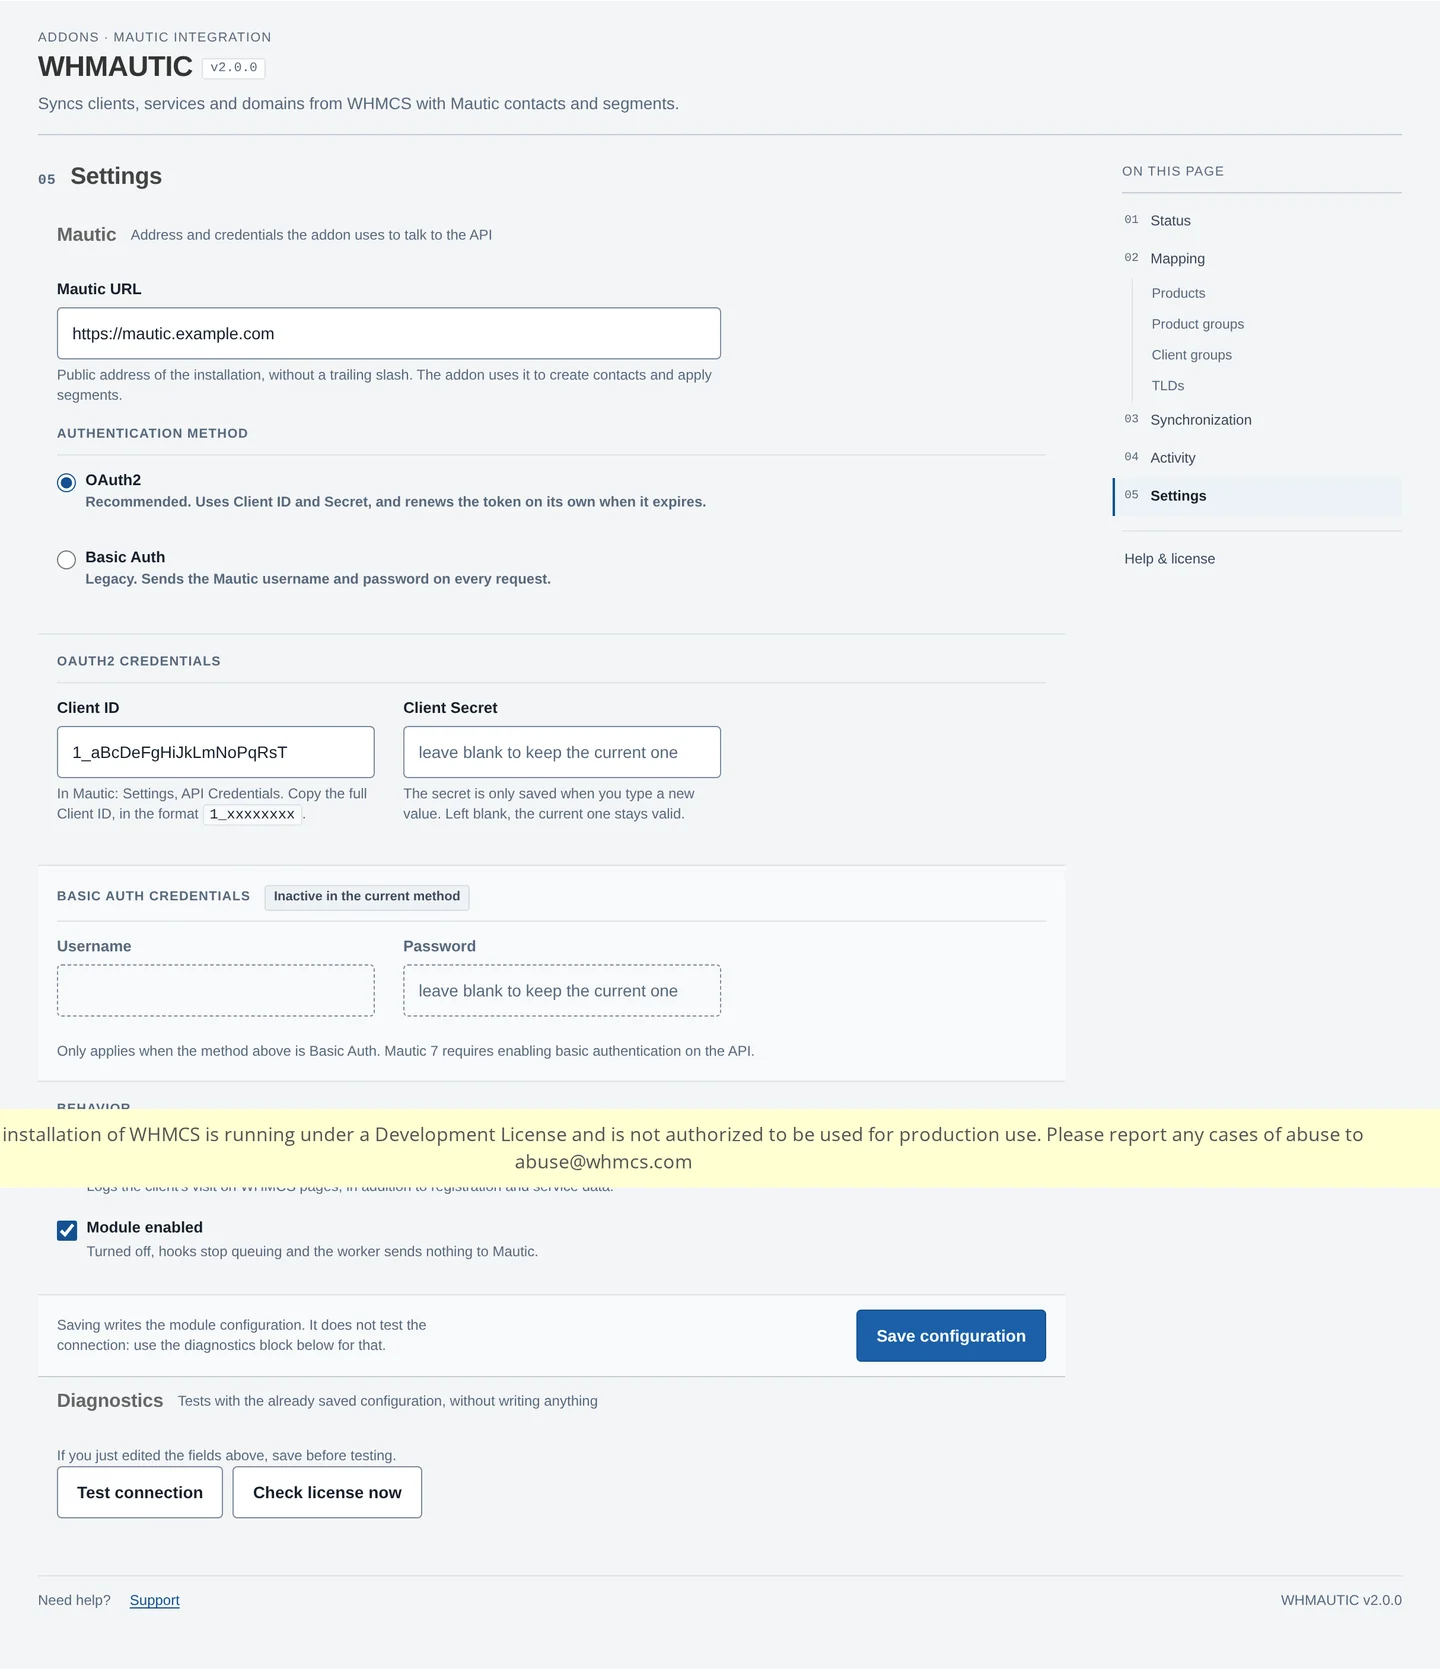
Open the WHMAUTIC addon and go to Settings. Enter your Mautic URL and choose an authentication method; OAuth2 is the default for a new installation. See Mautic Configuration for setting up Mautic, and Module Configuration for entering the values in WHMCS.
Make sure the WHMCS cron (cron.php) runs on schedule: it drives the worker that drains the synchronization queue. See Synchronization for how the queue and worker behave.